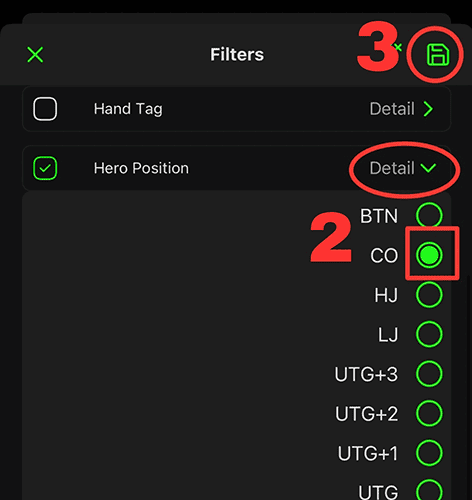
Filters are a great way to review specific spots, hand categories, pot sizes, etc. to start identifying leaks. We will be bringing enhancements to this feature very soon!
Applying Filters
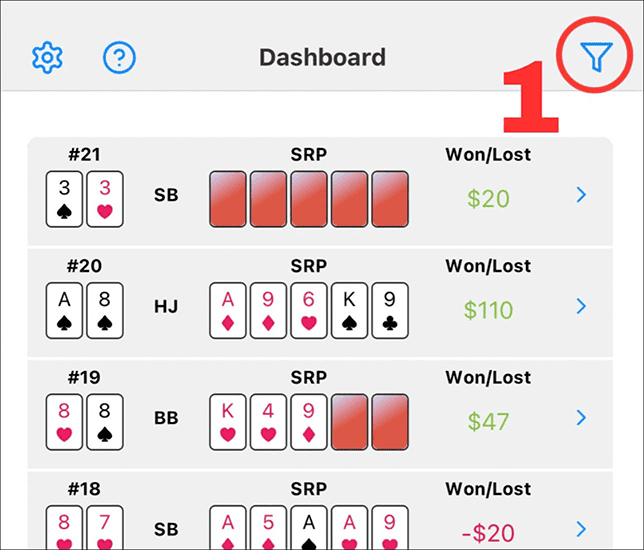
1. In your Dashboard, tap the “Filter” icon in the top right corner to open the Filters menu.
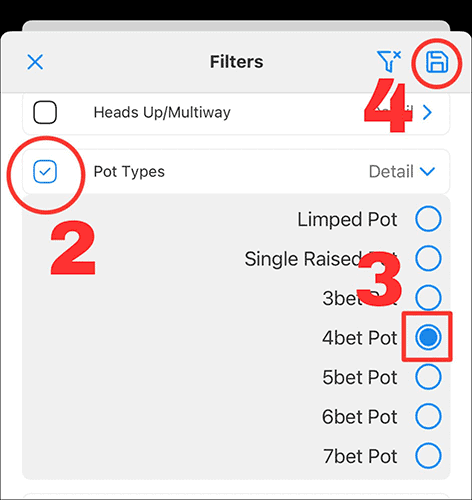
2/3. Tap the filter(s) you want, dropdown options will appear for you to choose from.
- You may select one option for each filter
- A check mark will appear next to an active filter.
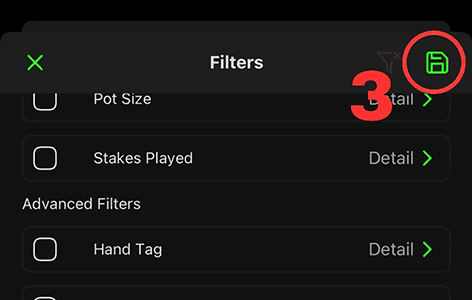
4. Press the “Save” icon in the top right corner to apply your filter selections
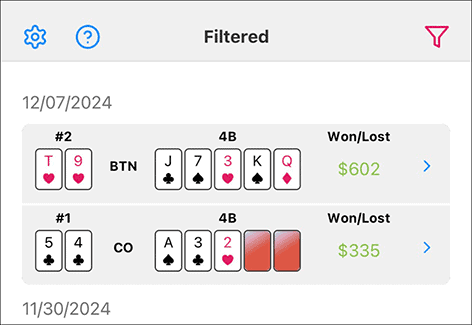
- You will be returned to Dashboard, now labeled “Filtered” in the header
- The “Filter” icon will appear red when Filters are applied
Removing Filters
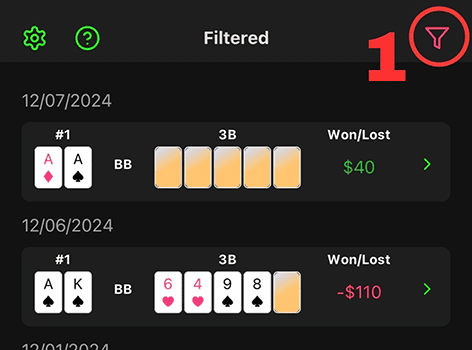
1. In your “Filtered” Dashboard, tap the red “Filter” icon in the top right corner to open the Filters menu.
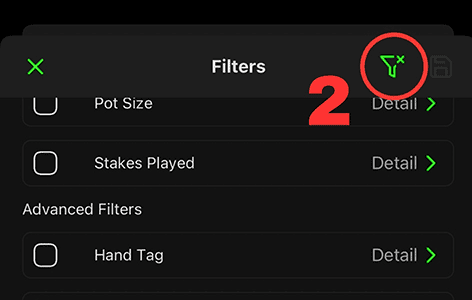
2. To remove all filters, tap the “Filter Reset” icon in the top right corner.
2.2. To deactivate specific filters while letting others remain active, tap the check mark of the filter(s) you want to remove.
2.3 If you would like to change your selection for a Filter, press “Details” to open the dropdown of options, then make your new selection.
3. Press the “Save” icon in the top right corner to save. You will be taken back to the Dashboard with either all hands shown (if all filters have been turned off) OR only hands meeting your new Filter criteria.
